
Hi! Our cookies enhance your site experience, improve quality, and show you more relevant content. Click "Accept" if you agree to our Cookie Policy. Thanks!
Hair Extensions 101: How to clip in hair extensions
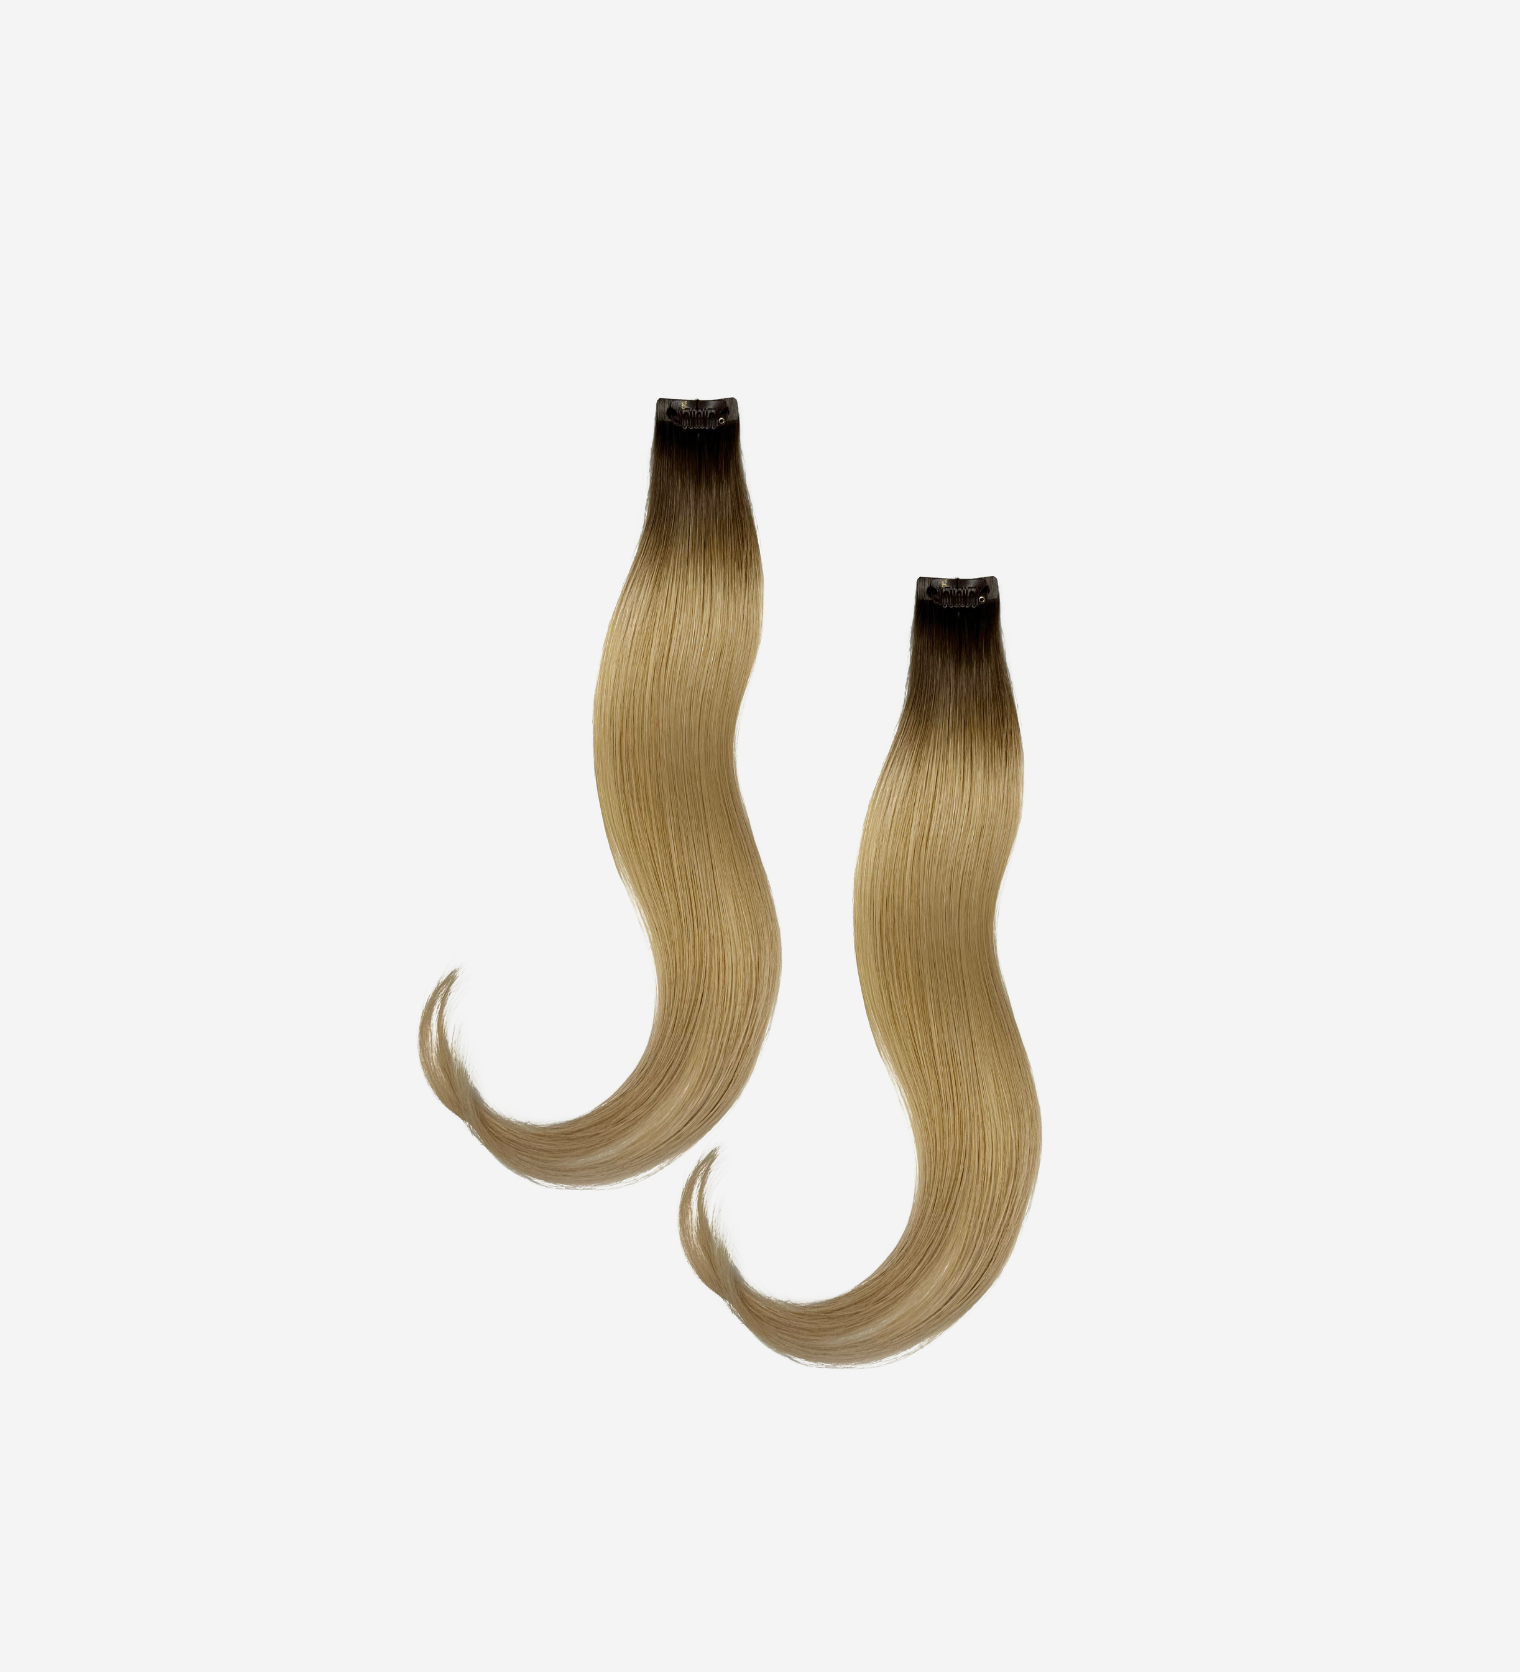
Okay so you’ve finally got the hard part out of the way - you did your market research on the best quality hair extensions, colour matched to perfection, and now you’ve finally invested in a beautiful set of human hair extensions, courtesy of your new fave hair extension brand, Gee Hair (of course)!
Now that you’ve got the hair - you can focus on perfecting your installation process so that you can achieve a seamless, natural look everytime you choose to wear your clip in extensions!
Whether you have gone for our ‘Megababe’ ten piece extension set for maximum volume, or you have chosen our Halo multiway weft, the process of installation is more or less the same! Once you’ve mastered it, you’ll be on your way to becoming a clip in pro!
Follow these helpful tips before installing for your future reference…
The tools you will need:
- Your full set of clip-in hair extensions
- Soft paddle brush
- Clip and rattail comb
- Mirror
- Brush your own hair and extensions before installation to ensure there are no knots or tangles. Depending on the style you are going for, you might want to add some waves or straighten your hair to match the desired texture of your extensions.
- Separate all the hair wefts that you are using starting with the smallest ones with the less clips and the biggest with the most clips. When installing your extensions, it is easier to start at the nape of your neck and then work your way upwards. By separating them it will help you see which one to select.
- With our C-thru clips on our hair extensions, they have been designed so that any stitching is not visible! Be sure to handle them with care during installation and take down as pressing or pulling can cause damage.
- Starting with the smallest weft, section off the lower section of your hair (nape of your neck) and clip away the rest of your hair up. Check the horizontal part that you made in the mirror to ensure that it is even. Any strands of hair interrupting it may snag on the comb and feel uncomfortable.
- Continue this process slowly working upwards, ensuring all the clips are flush to your head and feeling comfortable with no pulling or tension. Use a rat tail comb to help you get the perfect parting section.
- Our two clip wefts are great for adding volume and length to the front of the head! Work out what is needed to achieve your desired look!
- Once you have added all the wefts, do a check round your whole head to make sure that no wefts are visible. Give your head a gentle shake and see if there are any visible gaps.
- To finish - you are free to style your extensions in whichever way you choose, just be sure to use a heat protectant and avoid the high heat setting!
If you need some more visuals to help you with the installation process, please watch this helpful video: https://www.youtube.com/watch?v=jzUEexrP6U8
Don’t stress about getting your clip-in extensions perfect on your first go! The best thing about our extensions is that you can unclip them and try again! If you have any concerns or have a question for us - please feel free to drop us an email!
Pro tip: Once you have taken out your extensions at the end of the day, you can keep them safe and untangled by using our Gee Hair hanger which is also very useful for heat styling and washing! Get yours now!
Click this video to see our hanger in action: https://www.youtube.com/watch?v=RHBsXvdyNK8
Please also remember that If you're experiencing an issue with the hair or clip quality, you can email support@geehair.com. Please don't attempt to fix the clip ins yourself as you can make them worse & avoid your guarantee!